
~3D Tools - Creative and Technical 3D Modelling (Jetpack Project)~
- Archie
- Feb 1, 2019
- 2 min read

Updated: Jun 14, 2019
We were tasked to create a jetpack inside Maya. To make something you're going to look back on and like how it looks, a good idea is to have a reference image to work on.

I saw this image and considered a few attributes. It is a clean looking jetpack and I am given a good angle to reference from, I decided to go with this one.

I decided I'd work my way up from the bottom. I analysed the image and considered that extruding up from a cylinder would be the best way to approach this.

Whilst extruding upwards, I started to create the rounded form of the jetpack, more emphasis on the roundness later. I then extruded the next intersection, making it the same size as the bottom one.

I repeated the previous step for the next main part of the body and then stretched out the center point upwards to create the top point of the jetpack.


I again referenced the image and realized that my jetpack looked a lot more rough then the one in the image. To counter this I smoothed the entire model to make it look more rounded.

This next required some math skills. I sized down a sphere and moved it into place to create one of the bumps along the jetpack image. I then had decided that an easy way of placing my desired amount of bumps (9) around the body of the jetpack would be to alter the bump's center of rotation to the center by pressing the 'D' key to bring up the following interface.

I dragged this so it was aligning with the origin on the grid.
In order to space these balls around the body evenly, I had to divide 360 by 9 and that answer to that is 40. I created copies of these balls in the exact same position using the CTRL+D command and rotated them by 40 degrees each time.
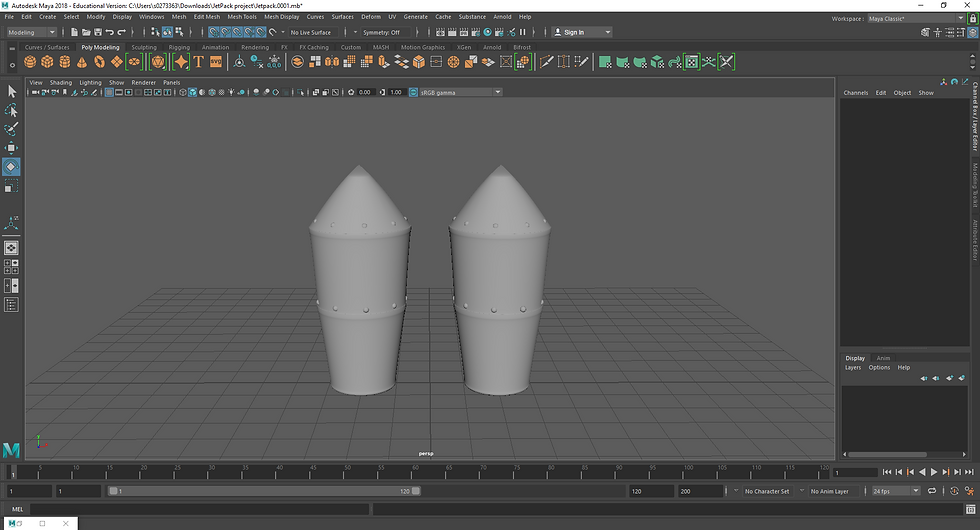
I did the same thing to the cone top and moved a new copy onto the other side using the same method as before.

To connect the two parts together, I smoothed two cuboids and placed them to create supports for the two barrels.


The final part of the jetpack would be to create straps to make it look wearable. In order to do this I stretched out a part of a square and bridged the two together. In order to make it look more realistic I created more emphasis on the actual weight of the straps and then smoothed the straps. Finally, I had to add faces to the straps because you're not allowed to have 2D objects in Maya, there must be faces on all sides. I then added smooth cubes much like with the bars in the middle.


Wireframe and non-wireframe models.
I feel this project taught me good ways to make use of my limited time resoucres becuase copying and mirroring geometry onto another axis to help make the process of modelling a 3D asset easier is definately a good thing to do. I'm also really proud of the strap becuase I took a lot of time to help make it look like it wasn't just paused in the air and was acuallly dangling down due to gravity.


Comments